Everyone knows the story…In 1621, Plymouth colonists and the Indians shared the meal of all meals–the Thanksgiving feast. Since then, we honor those traditions by sharing a scrumptious meal with family and friends. We might debate over stuffing vs. dressing, sweet potatoes vs. yams, or rutabaga vs turnip, but for most, there is no debate over the main course of the meal. Turkey is the cornerstone of all of this, so let’s talk turkey and getting your bird ready for the big day!
First things first. I have recently been accused of being compulsively clean, which I wholeheartedly deny (cough, cough). But…if I were fanatical (which I am not) about anything, it would be cleaning and preparing the Thanksgiving turkey. You don’t want anyone “flipping the bird” due to a sick tummy. Long lines to the powder room are so 1621! Sanitizing your kitchen in preparation for cleaning the turkey, and cleaning up afterward, are essential steps to minimizing the risk of food poisoning.
 Before starting turkey clean up, I whip out my trusty bottle of Clorox Clean-up and spray (the hell out of) the kitchen sink and counters, before even touching the bird. Turkey, as with other poultry, are known to carry salmonella, and we don’t want salmonella in our kitchen, right? Make sure you rinse everything completely afterward, so you don’t get bleach on the turkey. Next, I gather all the items I will need for cleaning and preparing the turkey and put them next to the sink. My container of salt. A knife and kitchen shears. A couple of paper towels for quick wipe-up, and a hand towel dedicated just for turkey cleaning. This way, I do not have to wash my hands a thousand times (who are we kidding, I do that anyway) while I am working on the bird.
CAUTION: If you are a vegetarian, you may want to skip ahead….
Cleaning
Now it is time to meet Tom. Yes, I name my turkey. I am going to have my hand up his nether regions, so it’s absolutely appropriate to get acquainted. Tom came from the Butterball factory, which is the only brand I buy (not a promotional plug, just a personal preference). I place Tom, in his wrappings, into my sparkling clean sink. Then I snip off the wrapper and rinse him, inside and out, giving him a nice shower.
Here is where I stick my hands inside of Tom, and make certain he is not still frozen.* This is also the time, while my hands are inside, to take out the gizzard package from one end, and the neck from the other end. I save the neck to boil for gravy, but the rest gets thrown away (yuck). I continue to rinse and trim some of the fat around the tail.
Stuffing
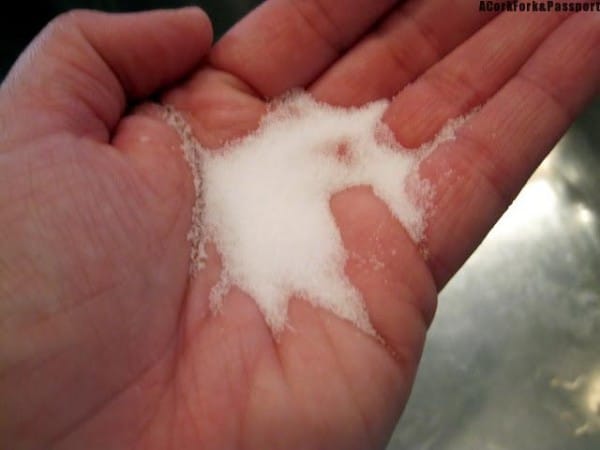
When Tom is all cleaned up, I let him drain for a few minutes, then pour a little salt (1-2 Tbsp) in my hand and rub him down, inside and out. If you are stuffing your Tom, do not put too much salt inside, as your stuffing turn out too salty.
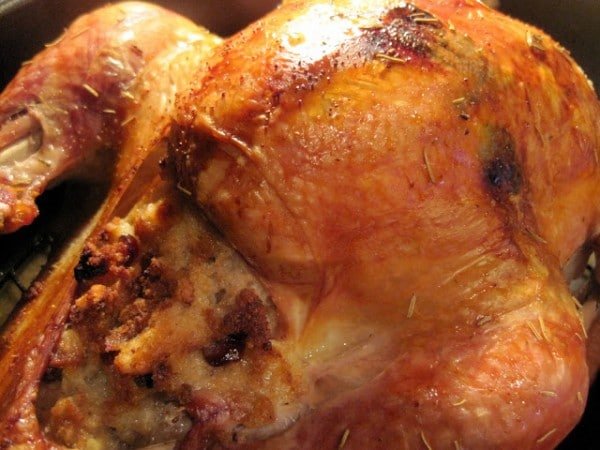
It was finally time to stuff Tom. I take the stuffing, which I’ve already prepared, and push it into the cavity. I prefer to put stuffing only in the main cavity, not the lower cavity, so I usually have a little bit of stuffing left (which I put into a separate dish and bake). Here is where I get a little crazy. Conventional cooking dictates that you truss or tie your bird, if you stuff it. But in my house, there is no 50 Shades of Turkey.
My bird is not into S & M, so there is no tying Tom up!
Let me put it this way. If you were baking in a oven at 325 degrees for several hours, would you want to be tied up? (Don’t answer that.) Instead, I take Tom’s little feet (legs?), tuck them into the skin pocket under his tail, and he does just fine. Tom is very flexible, and I like that.
I wash my hands and get the final ingredients for my turkey (which I have set nearby):
- Fresh Sage leaves
- Rosemary (Fresh or dried)
- 1 Tbsp Butter
- 1 Finely minced Garlic clove
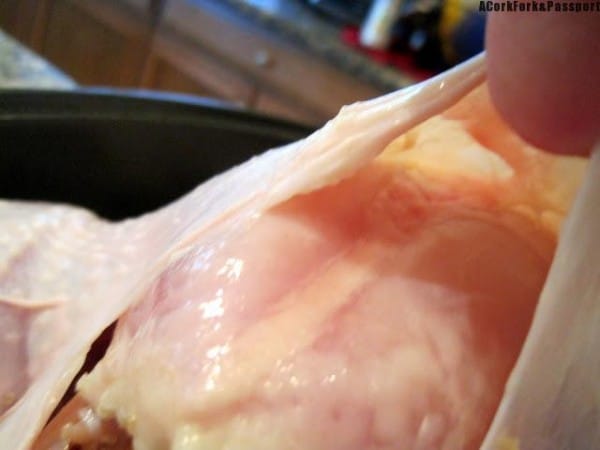
I take the butter, cut it into thin slices. Then I lift Tom’s skin up, and you will find that there is a little pocket inside.
I place 2-3 pats of the sliced butter under this skin, and then tuck the sage leaves over the butter pats. Rub the outside of the turkey with the remaining butter, and sprinkle with a touch of rosemary and the garlic. Don’t over-do it with the butter or rosemary, just a touch!
I’ve been such a naughty girl. I’ve cleaned him, massaged him, and greased him up. Now it’s time to get Tom really hot and bothered….it’s time to roast.
Roasting
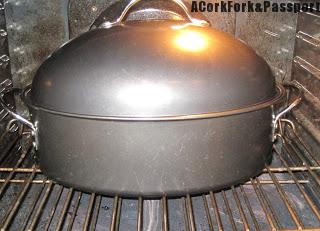
I place Tom into a well-heated oven, following cooking directions that come with my turkey. The only thing I do different (from the instructions) is to cover my turkey for the first two hours, then remove the lid. If the skin starts to get too brown, I cover with aluminum foil.
Now that Tom is roasting away, it is time to clean up. Here is where I think that you can never clean up too much. I grab the Clorox and spray, spray, spray! I wash and rinse both my sink and counters thoroughly. If you are a neat freak (again, unlike me), you may want to clean and rinse your sink twice. Throw all utensils in the dishwasher and run on sanitary. Now my kitchen is ready for other Thanksgiving cooking!








4 comments
I agree. Having a clean kitchen is a must!!
These are great tips!I think we should have turkey dinners at least once a month. It’s such a delicious meal and so many leftovers!
it’s all about cleanliness, and good food. LOL. we are going to a friends house- hope you have a good day!
Great tips! So glad I’m not the only one that likes to diligently clean when it comes to poultry ( or anything really).