


The holidays are a perfect time to make thoughtful homemade gifts for the people you care about most. I am not a very talented crafter, but successfully make these DIY swirl paint glass ornaments every year for family and friends, and they love them! They make a great teacher gift or thank you for mail carrier, newspaper delivery person, etc.
{This post contains affiliate links}
DIY Swirl Paint Glass Ornaments
Spread the newspaper out on the surface you will use to make the ornaments. Lay out your paper plate and paper cups. Set paper towels within reach. Wash and air dry the glass ornaments before use, making certain that they are completely dry before adding the paint. Note: You could buy these glass ornaments at your local craft store, but I have found that they sell out by Halloween, so buy early or just order these online.

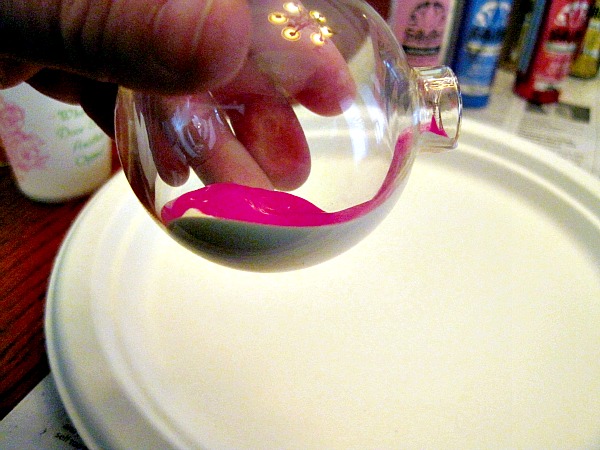
Pick two or three colors of coordinating color paint. Shake the closed paint tube. Working over the paper plate, open and drizzle a little bit of paint down the inside surface of the glass ornament. Do the same with the remaining colors. The metallic and pearl tinted paints add a nice festive touch to the ornament, so try to have at least one of the colors a metallic paint.

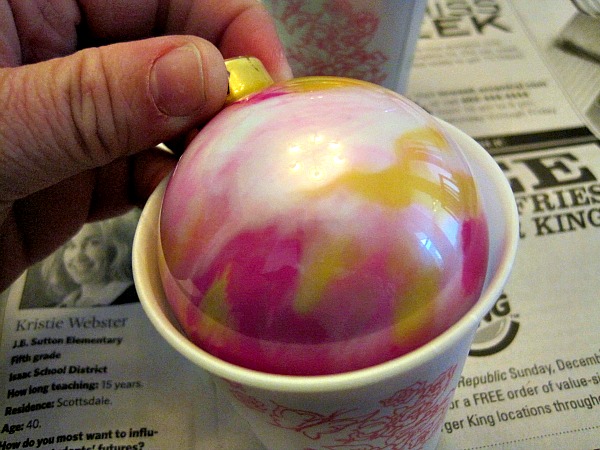
Work quickly to swirl the colors before they “set”. Once you have added all your paint, slowly swirl the paint together inside of the ornament, making certain you cover all inside surfaces of the glass. I then will let the ornament set for a few hours on its side in the paper cup, then swirl some more to re-coat areas of the glass.
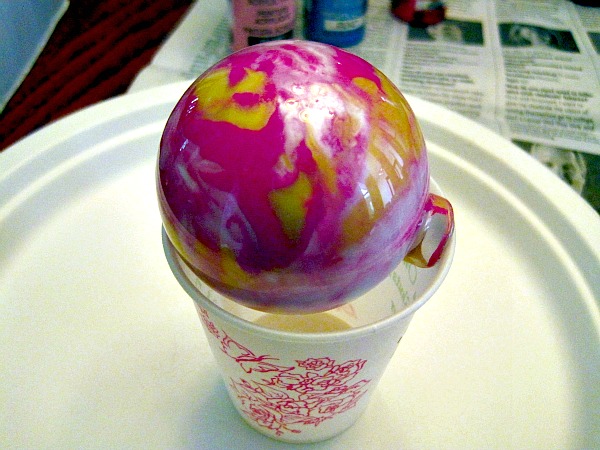
As you swirl, the colors will blend more, so swirl the paint every 20 minutes so the paint does not dry. (If it dries, you will have uneven surfaces, and the paint may even peel once it is exposed to the remaining wet paint. When you are satisfied with the color blend, take your ornament and set it upside down (open end down) in the paper cup. This will drain the paint from the ornament. Allow to drain about one hour.
While you are waiting for them to drain, go grab a cup of cocoa or a gingerbread cookie…it is the holidays after all! When the ornament is finished draining, wipe the paint drips from the lip with a q-tip, then place the ornament face up in a clean paper cup. Allow to dry for about 48 hours. When dry, put the metal clip back on the ornament, and it is ready to give as a gift. For an extra pretty touch, add colored ribbon tied to the metal clip, to hang the ornament!


3 comments
very pretty
I would like to try this with my older grandkids they don’t like paper and glue any longer..
Beautiful and so original!